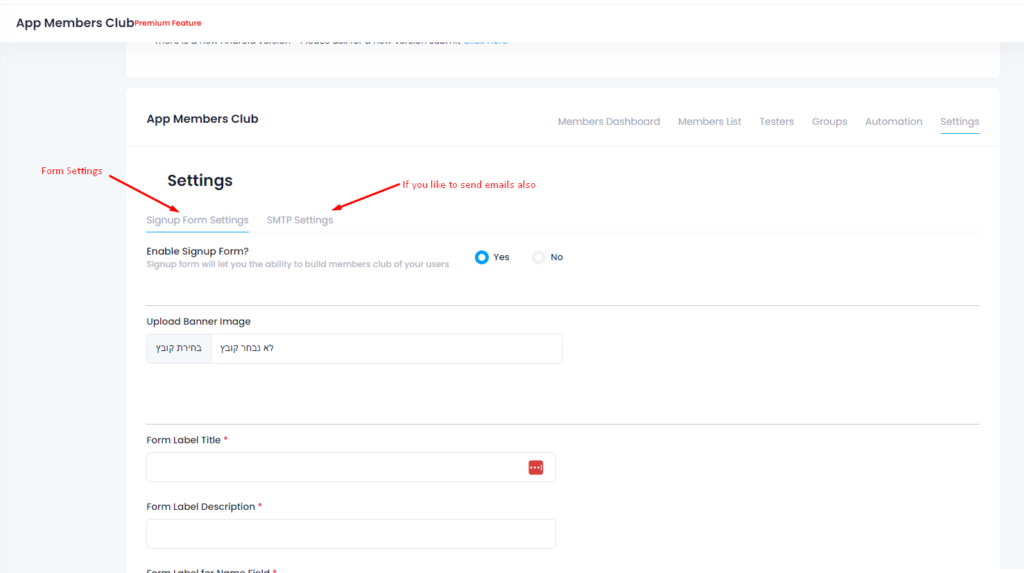
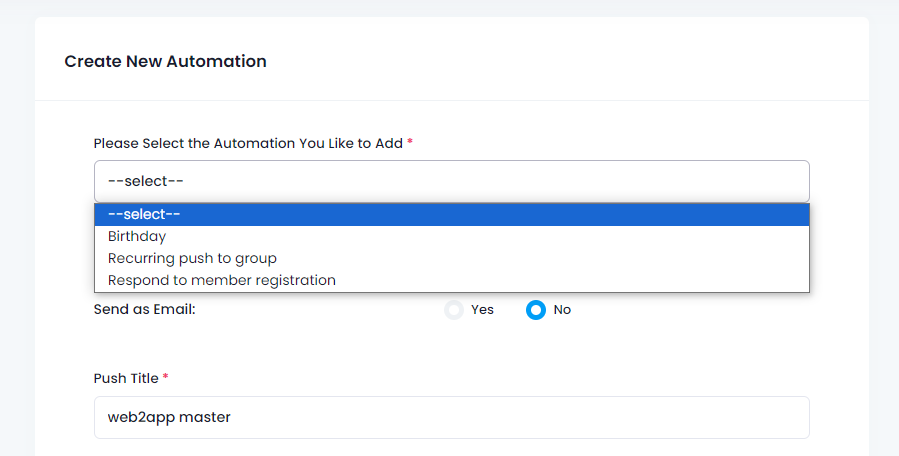
In this tutorial, we will explain how you can create or upgrade your WordPress website to an effective and useful application using the popular WordPress page editor – ELEMENTOR.
All that you new to create your app is:
1. Elementor plugin – we advise using the pro version because it’s important to have updates for the elementor plugin and the elementor pro version has a lot of functions that can help to make amazing iOS and Android applications.

You can buy the pro version by pressing HERE.
2.Open an account in the web2application platform by pressing HERE.
Before we dive into how to actually build it is important to understand a few points when it comes to iOS and Android app stores and why it is worthwhile to turn a website with an elementor into applications.
In general, it is possible to turn any mobile-friendly website into applications with our system, but in practice, the approval of the application can encounter difficulties because Google and Apple want applications to be useful to users and not just copies of websites. ( The app stores is not an advertisement billboard).
After all, whoever downloads applications to his phone already knows what it is about and there is no need for any advertising, he looking for functionality or data.
For example, there is no point in turning a lawyer’s website into an app just for people to be able to download the app and see the services of that lawyer.
In such a situation, chances are Google and Apple will disqualify the app. In Apple, this section called 4.2 – Design – Minimum Functionality
It means, they do not understand why the app needs to be approved, what is the difference from the site, and what is the benefit to Apple users.
This is why we suggest using the ELEMENTOR to create an app on Android and iOS.
In WordPress, you can easily duplicate and open new pages and with the help of Elementor Pro, you can easily make changes, so that the application will be useful and different from the general website.
In our sample case of the lawyer, you can add a blog to the site with a large amount of information, create a new page on the site, and using Elementor to add a search, recent articles, etc. in order to create an effective home page. It is also possible to add a special form for receiving documents from a client who needs advice, adds a closed area for clients, etc. (requires more plugs beyond Elementor).
And now you can start building your app. 🙂
Step 1: Design your app
Since we want to create an app that looks different from our responsive site, you need to set up pages and a special app menu that will be used and show it the app.
First thing, Please take a sheet and a pen and write down the application’s page names and a menu chart. Planning is the key for a successful app.

Step 2: Install plugins
Install Elementor Pro in your WordPress website.
First, you need to install the free elementor plugin by searching “elementor” in WordPress plugin directory.
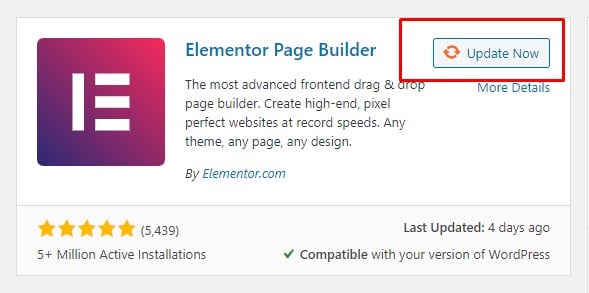
Install Web2application plugin in your WordPress website by searching. “Web2application” in WordPress plugin directory.
You can create the app without installing our plugin, this is not a must installation but our plug will make things easy to manage, send a push notification, set deep linking, enable web push notification on your website and etc.
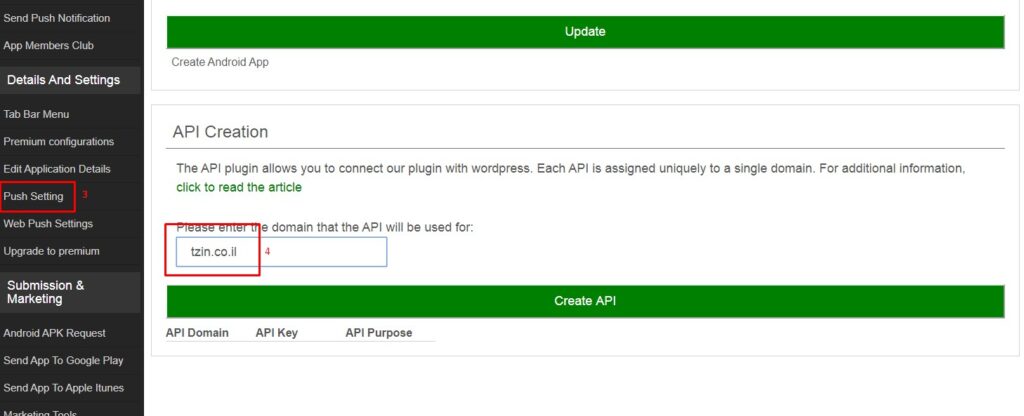
If you install our plugin you will need to enter the API key from our system on the setting page .

Please make sure you don’t have any white spaces to the URL and when you copy the key to your website.

Step 3: Open your application pages on your WordPress site. (if you don’t have them)
In order to open a page click on the main menu of your WordPress site management on “Pages” and then on the “New Page” button located above.
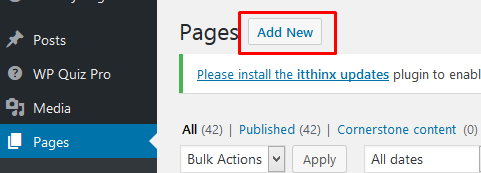
After clicking on the new page button you will be redirected to edit page editor.
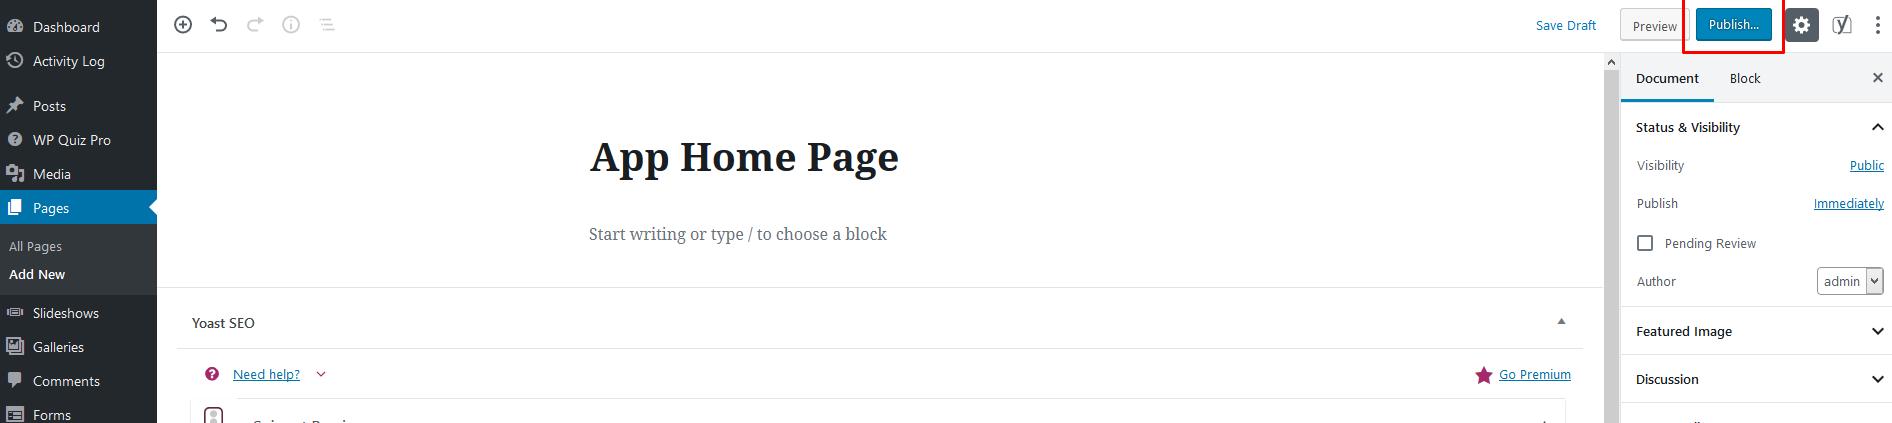
Just enter the name of the page and hit publish.
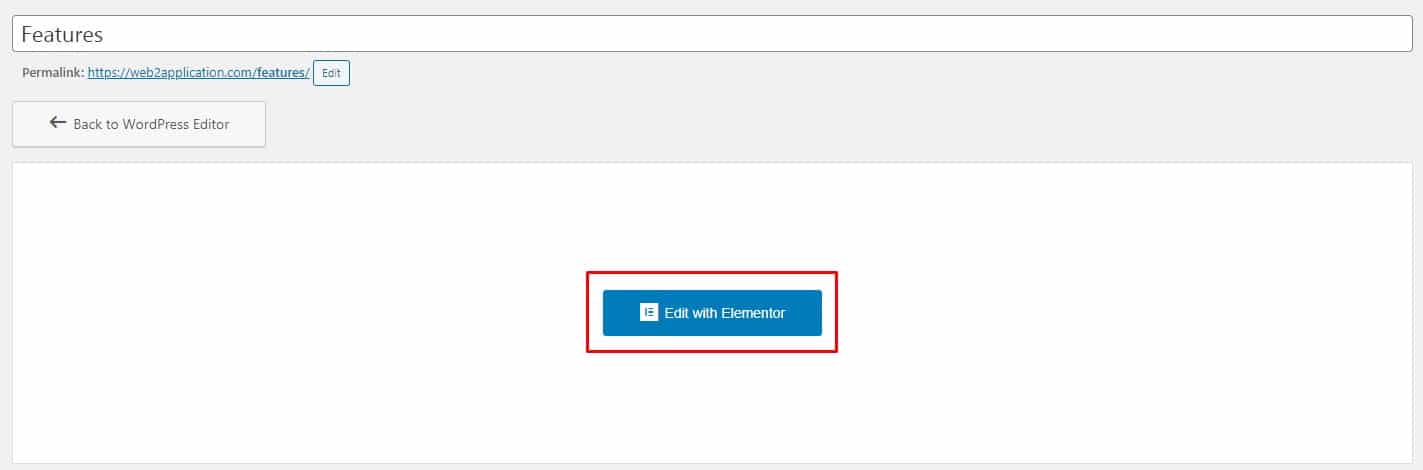
After you click publish you will have a button “Edit with Elementor”.
Step 4: Create an app menu
For the menu you have 2 choices that you can select or use both on them in your app.
1. create special menu for the app pages only at your WordPress website.
2. use the tab bar menu from our system.
How to create app menu at your WordPress site:
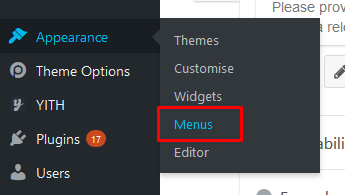
In the main menu of your WordPress management-click “Appearance” and then on menus.
The menu screen will open, then click “New Menu”.
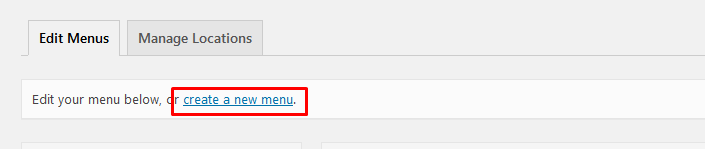
Add the pages of the app you created to the menu and click “Save”.
To show this menu on special pages you need to Set the menu that you created as the menu of the pages
Click on “Pages” in your WordPress management.
Then, select or stand on the page you want to edit and click “edit”.

Once the editing screen opens, scroll down to the “Menus” section and mark the menu you created as the menu of the page.
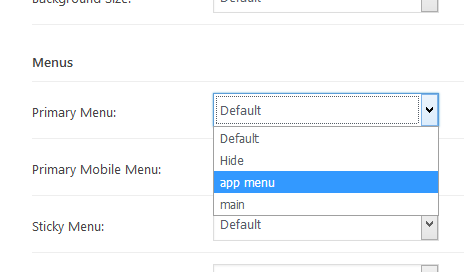
Press “Publish” to save the page.
Now you can click the Edit button with Elementor (Blue Button) to edit the page, but, I recommend updating all the pages before starting editing the pages to prevent the situation that you forgot to set a menu in one of the pages.
Web2application bottom tab bar menu
 we added an option to add a beautifully designed and simple tab menu to your android and iOS applications that will show the most popular links in your application.
It’s very easy to add the tab menu to your applications.
Please enter your app dashboard in our system and choose the “app menu” from the side main menu.
Or if you installed our plugin, enter the tab bar setting in the web2application plugin.
On this screen you will see all the tab bar menu options that you can configure and create your perfect menu for your users:
1. Set the menu colors. You can set the menu background and the menu links.
Just click and select the color that you want:
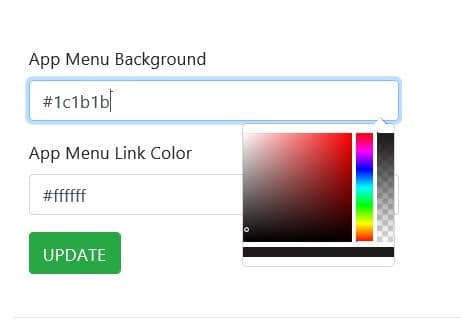
2. Menu direction.
Some times, according to the phone settings language there is a need to change the direction of the menu from left to right to right and left.
After you add the menu, Just check that the direction is okay. If not, change the direction.

3. Activate a special tab to display your Push notifications history.
The special push notification history tab will let your users click and see all the push notification that you send for the last months in a case that they miss.
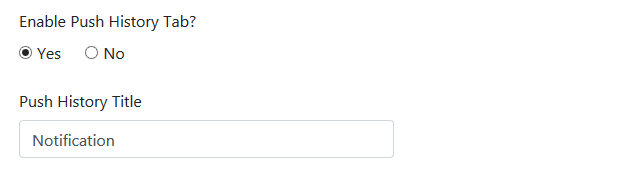
You can also customize the tab name to your own language by changing the push history tab title.
4. Add tabs to your menu.
Those are the tabs of your menu. Each tab needs to have a link to the correct page or category in your website, icon or image, title to the tab, and a number to his location on the menu.
Please don’t use long titles because the tab space is small.
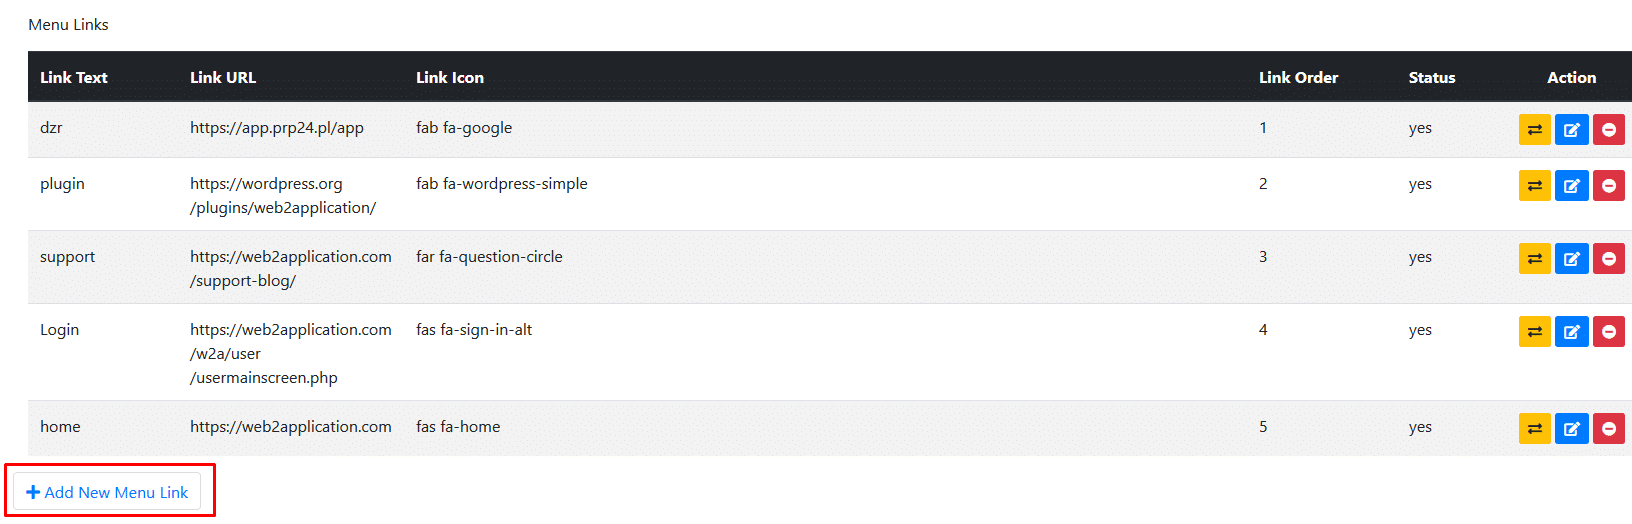
5. Edit Link and Tab Name.
In case that you like to edit the tab name, you can click on the blue button and edit the tab details.
Please don’t forget to click on the green button to approve the changes.

6. Set icons or upload an image to any tab in the menu.
Each tab needs to have an icon or image that you can upload.
For your convenience we added for you a lot of icons that you can select from, You can select from the list or use the search bar to search for your icon.

Please note that there is no need to resubmit the application to google and apple in order to add or remove the tab bar menu from your application or making changes in the tabs.
It’s all automatic in your premium application
Step 5: Edit the pages content
Now that we have the app pages and menus, you can start creating the app using ELEMENTOR and edit the pages. Each page edit has a blue button to edit the page with ELEMENTOR.
For anyone who does not know the ELEMENTOR.
ELEMENTOR allows you to edit pages by dragging and dropping elements from the right menu to the boxes on the page.
It is very important, once you have added the elements of your page, check how the page looks in a responsive mode. ELEMENTOR allows responsive visualization of your web page and the possibility to edit and arrange the responsive settings by switching to a responsive mode.
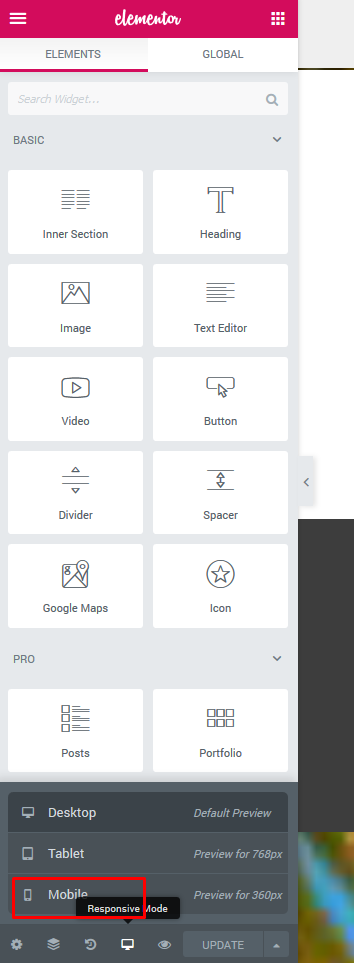
Once everything is ok, click Save and go to the following pages of the app.
COOL WIDGET OF WEB2APPLICATION IN ELEMENTOR
Some times we already have the pages ready and just like to hide some elements like a button to “download our app”. they already download the app… there is no reason that they need to see this button.
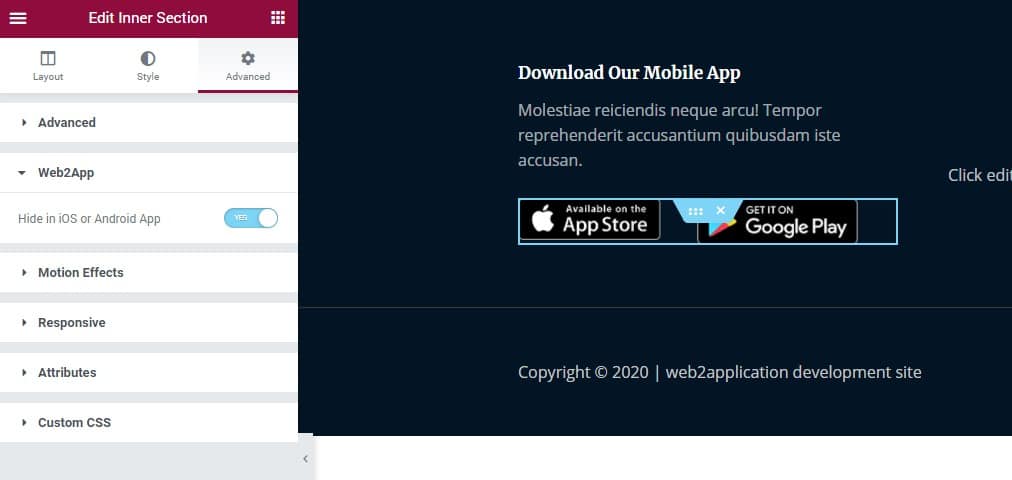
Web2application plugin add a special widget to elementor that will allow to hide elements at the your apps only. 🙂
1. Go to the page you want to modify and edit it with Elementor.
2. Select the element you want to remove in your iPhone and Android app.
3. Go to Advanced> web2app and remove the element from the apps.

For example – there is no need to show the app stores download links inside the apps but you do want to show it on your website:
Step 6: Ask for APK in order to check you app on android devices.
After you set the pages, the menus and etc. its time to check your elementor app on android devices. It can be done with a file called APK that you can install on android devices and check.
Before we submit the app to google play and apple store, it is recommended to test the application on a real Android device.
In order to install your application manually on an android phone, you need a file called APK.
After you request from us the APK file, we will build your application and send you an email with a link. (please check that our emails don’t go to your spam folder, it is, please unmark our email from the spam folder).
After installing your application on your android device, you need to check that the push notifications are working, your tab bar menu and all the other settings are correct.
Most of the features except the application icon can be changed through the system, including the splash screen of the app, all settings will update automatically when you close and open the app.
To get the APK file please follow these steps:
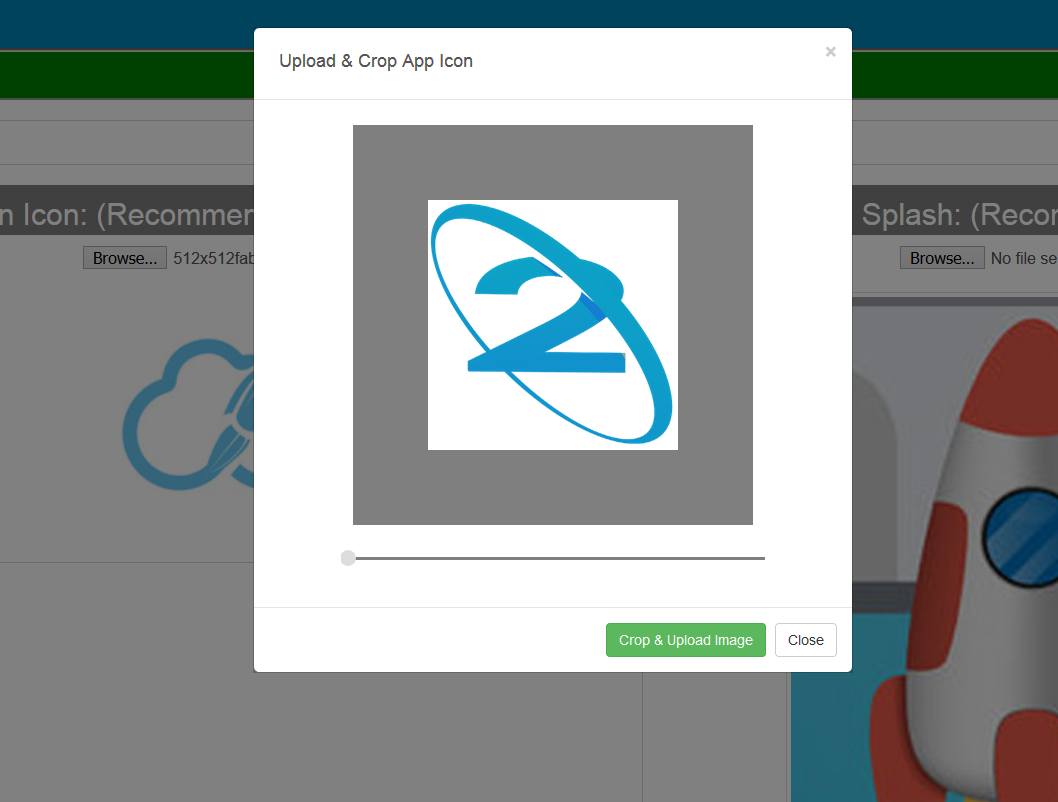
- Enter your app dashboard and go to “Edit Application Details”, and check your icon and splash screen. (the screen that loads when you start the app).
Please note, that there is no need to make the icon round or with corners.
The system creates icons for all android versions. - If the icon doesn’t look good or not in the right size you can upload the file and crop them.

- Check that you set up the push notification, if you didn’t follow the instructions and didn’t set it up correctly, the push notification will not work. (If you are a premium member, please contact the premium support and they will set the push notification for you)
- Go to “Android APK Request”, answer the questions and submit.
- After you submit, it will take us up to 72 hours to generate and send you a link to your APK file from us. (Premium members gets the link A.S.A.P)
- When you get the link by email, download it to your phone and run it. Most of the phone will prompt security alerts. it’s ok, that alert is if it manually installs and not from google play store.
- Enjoy your new app, and when it’s ok you are ready to ask as to upload your app to google play store and apple store.
IMPORTANT: According to Google and Apple guidelines, you must have a developer account in google and apple in order to publish the application on the store.
We will help you open the accounts and will upload your applications to your developer’s account.
Then, you will need to fill all the application details in your account and send them to review.
All instructions and information are inside our system.
Turn Your Website Into an App — Start Free
Create your app free, generate an Android test APK, and explore eligible Premium features for 14 days.
Create Your App Free · Explore Features · See How It Works · View Pricing · Follow the Free Course
Why Use Elementor to Build Your App with Web2Application?
Elementor is a powerful WordPress page builder that lets you create custom pages easily. When combined with Web2Application, you can transform your Elementor-built website into a fully functional mobile app for Android and iOS. This approach helps you meet app store guidelines by adding native features and unique app content beyond your website.
Step-by-Step Guide to Building Your App with Elementor and Web2Application
- Plan Your App Structure: Outline the pages and menu structure you want in your app. This helps create a user-friendly navigation experience.
- Design Custom App Pages: Use Elementor Pro to build pages tailored for your app, such as special forms, client areas, or searchable blogs.
- Set Up Your Web2Application Account: Sign up at web2application.com to start creating your app dashboard.
- Connect Your WordPress Site: Install the Web2Application WordPress plugin and enter your API key to sync content.
- Configure App Design: Customize your app icon, splash screen, and bottom tab bar menu in the Web2Application dashboard.
- Test Your App: Generate a test APK to install on Android devices and preview your app before submission.
- Submit to App Stores: When ready, use Web2Application’s Premium features to assist with Google Play and Apple App Store submissions.
Tips for App Store Approval
- Ensure your app offers meaningful native functionality beyond your website content.
- Use Elementor to create unique app pages and interactive features like forms or client portals.
- Follow Apple’s Guideline 4.2 on Minimum Functionality to avoid rejection.
- Leverage Web2Application’s native features such as push notifications and navigation menus.
Frequently Asked Questions (FAQ)
Can I build an app from any WordPress site using Elementor?
Yes, Web2Application supports converting any mobile-friendly WordPress site built with Elementor into Android and iOS apps. Using Elementor Pro helps create custom app pages that improve app store approval chances.
Do I need the Elementor Pro version to build an app?
While not strictly required, Elementor Pro is recommended because it offers advanced design features and updates that help build more functional and appealing app pages.
How do I test my app before submitting it to stores?
Web2Application lets you generate a test APK file to install on Android devices for previewing your app. For iOS, you can use Apple TestFlight after submission setup.
What makes Web2Application the best choice for converting Elementor sites into apps?
Web2Application specializes in converting websites into hybrid apps with a native shell with features like push notifications, easy WordPress plugin integration, and expert support for app store submissions, making it ideal for Elementor users.
Create Your App Free and generate a test APK to explore Premium features with a 14-day trial.
Frequently Asked Questions
Can I build an app from any WordPress site using Elementor?
Yes, Web2Application supports converting any mobile-friendly WordPress site built with Elementor into Android and iOS apps. Using Elementor Pro helps create custom app pages that improve app store approval chances.
Do I need the Elementor Pro version to build an app?
While not strictly required, Elementor Pro is recommended because it offers advanced design features and updates that help build more functional and appealing app pages.
How do I test my app before submitting it to stores?
Web2Application lets you generate a test APK file to install on Android devices for previewing your app. For iOS, you can use Apple TestFlight after submission setup.
What makes Web2Application the best choice for converting Elementor sites into apps?
Web2Application specializes in converting websites into hybrid apps with a native shell with features like push notifications, easy WordPress plugin integration, and expert support for app store submissions, making it ideal for Elementor users.
Ready to turn your website into an app?
Create your Android and iOS app without coding. Start free, generate a test APK, and explore Premium features with a 14-day trial.

 By
By