From WordPress Site to Real Mobile App: The Complete, Step-by-Step Owner’s Workflow (With Free Test APK and Push Notifications)
- nir
- September 8, 2026
- Marketing
- Marketing AI
- 0 Comments
Why Convert Your WordPress Site Into a Mobile App in 2024?
Mobile usage continues to surge in 2024, and website owners are looking for ways to reach users where they spend most of their time: on their phones. Turning your WordPress site into a real mobile app offers:
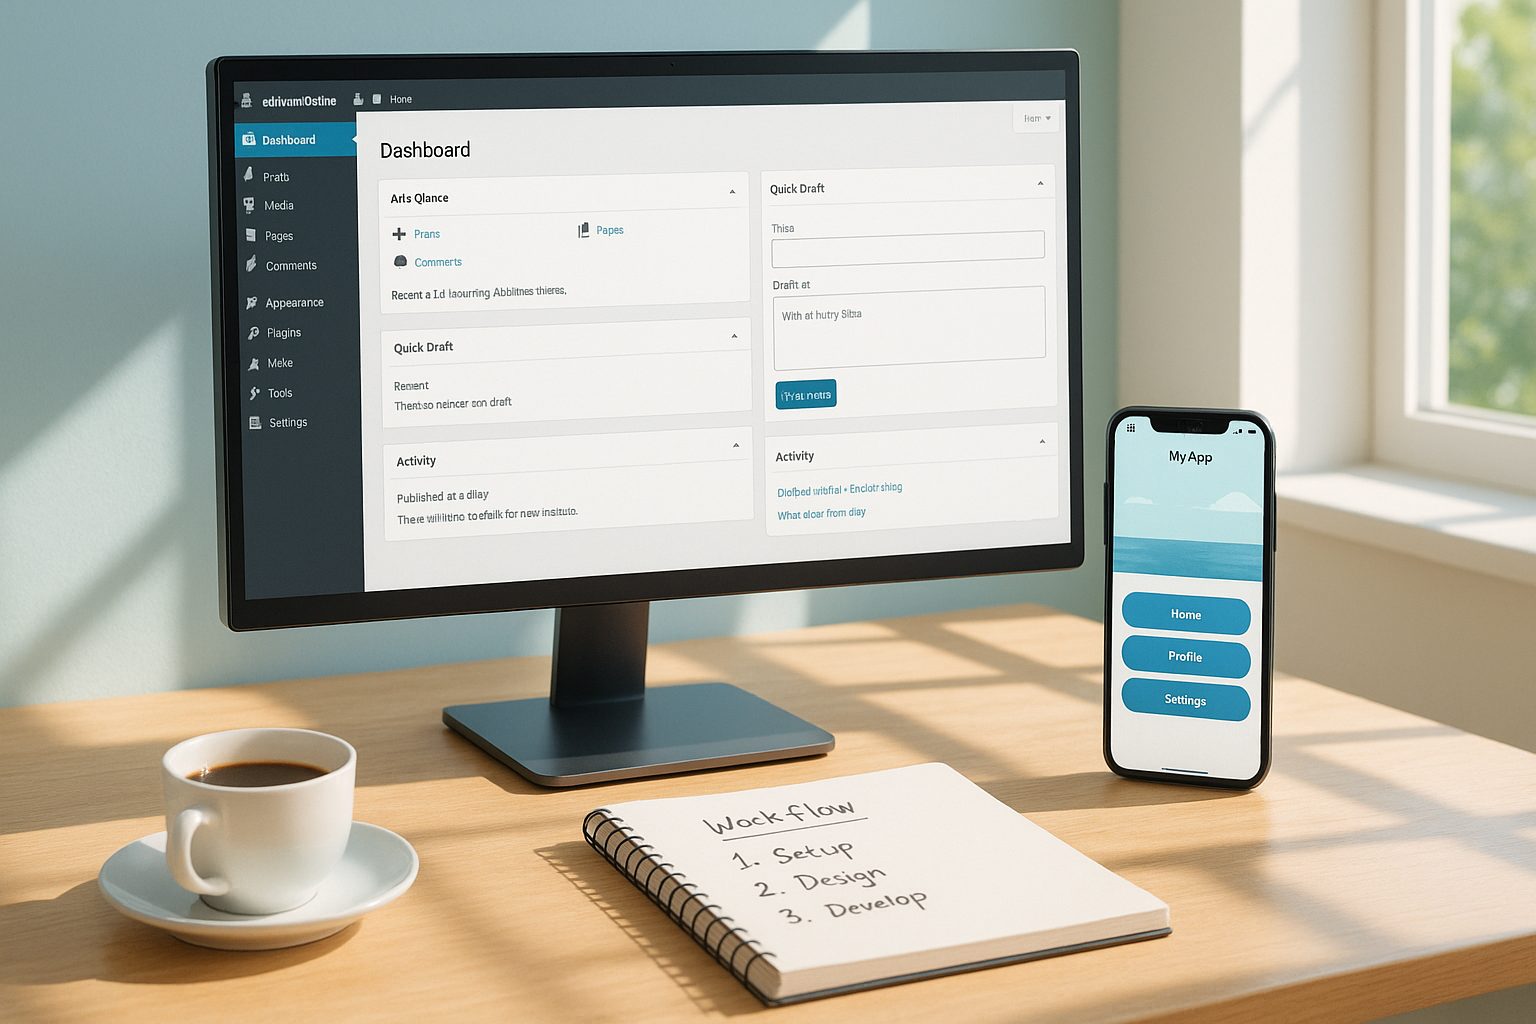
- Direct access via app icons on users’ devices
- Push notifications to engage and retain your audience
- Faster, native-like experiences with branding
- Increased credibility and discoverability on Google Play and Apple App Store
But how do you actually convert your WordPress site into an app—without coding or rebuilding from scratch? Here’s a transparent, owner-first workflow using Web2Application that covers every step, from plugin setup to real APK testing and push notifications.
What to Prepare Before You Start: WordPress Plugin, Content, and Store Guidelines
- WordPress Admin Access: You’ll need to install a plugin and access your site’s backend.
- Website Content: Ensure your site is mobile-friendly and loads securely (HTTPS recommended).
- Store Guidelines: Familiarize yourself with Apple’s and Google’s app requirements. Web2Application provides guidance to help you meet these standards.
Step 1: Connect Your WordPress Site to Web2Application (Plugin Setup & API Key)
- Sign up at Web2Application.
- Create a new app in your dashboard. Enter your app’s name and website URL.
- Download and install the Web2Application plugin on your WordPress site.
- Copy your API key from the Web2Application dashboard and paste it into the plugin settings in WordPress.
- Verify the connection: The plugin will sync your site’s content and enable advanced app features, including WooCommerce support if you run an online store.
Step 2: Design Your App—Icons, Splash Screen, Tab Bar, and Branding
- In your Web2Application dashboard, upload your app icon and splash screen for a polished first impression.
- Customize the bottom tab bar menu to match your site’s key sections for easy navigation.
- Adjust colors and branding to ensure your app feels like a true extension of your website.
- Preview changes in real time and make tweaks as needed.
Step 3: Enable Push Notifications With Firebase (No Coding Needed)
- Go to Push Settings in your app dashboard.
- Follow the guided setup to connect your Google account and create or select a Firebase project.
- Once connected, you can send push notifications directly from your Web2Application dashboard—no coding required.
- Push notifications are available with Premium features, but you can set up and preview the workflow during your free trial.
Step 4: Generate and Test Your Real APK on Android (Free Preview)
- After configuring your app, go to the APK Request page in the dashboard.
- Click to generate a test APK—this creates a real Android app file you can install on your device.
- Download the APK and install it on your Android phone or tablet (enable “Install from unknown sources” if prompted).
- Test your app’s navigation, content sync, and push notifications to ensure everything works as expected.
This step is crucial: unlike many platforms, Web2Application lets you try a real APK before any commitment or store submission.
Step 5: Troubleshooting Common Issues (Sync, Push, Content Updates)
- App not updating content? Check if the WordPress plugin is connected and the API key is correct. Try clearing the app cache or reinstalling the APK.
- Push notifications not working? Ensure Firebase setup is complete and your device allows notifications. Premium access is required for live push features.
- WooCommerce features missing? Make sure WooCommerce is active and the plugin is synced.
- Still stuck? Web2Application offers WhatsApp and email support, with priority for Premium users.
Step 6: Next Steps—Submitting to Google Play and Apple App Store
- Android: Once satisfied, Premium users can request app submission to Google Play directly from the dashboard. Web2Application’s team assists with the process.
- iOS: For Apple App Store, you’ll need an Apple Developer account. Web2Application guides you through Apple’s guidelines (including minimum functionality) and helps with TestFlight and submission steps.
Both stores require your app to offer meaningful native features—Web2Application apps include push, navigation, and more to meet these standards.
How to Explore Premium Features and Get Priority Support
- Start with a free trial: Create your app, generate a test APK, and explore Premium features for 14 days.
- Unlock push notifications, store submission support, and priority WhatsApp help when you upgrade.
- Cancel anytime—your Premium access continues until the paid period ends.
Ready to Turn Your WordPress Site Into a Real Mobile App?
With Web2Application, you can convert your WordPress website into a hybrid Android and iOS app with a native shell—no coding, no guesswork. Connect your site, design your app, enable push notifications, and test with a real APK before you commit.
Create Your App Free and see how easy it is to bring your site to the app stores. Generate your test APK and explore Premium features with a 14-day trial—start today!
Frequently Asked Questions
Do I need to know how to code to turn my WordPress site into an app?
No coding is required. Web2Application provides a step-by-step, owner-friendly workflow that uses a WordPress plugin, dashboard configuration, and guided setup for features like push notifications.
Can I test my app before submitting it to the app stores?
Yes. Web2Application allows you to generate a real APK file for Android, which you can install and test on your device before committing to store submission or upgrading to Premium.
What features are supported when I convert my WordPress site into an app?
Your app can include push notifications (via Firebase), bottom tab navigation, custom branding, WooCommerce product search, and more. Premium features unlock push notifications, store submission support, and priority support.
How do I enable push notifications in my app?
After connecting your WordPress site and configuring your app, you can enable push notifications by following the Firebase setup wizard in your Web2Application dashboard. No coding is needed.
What if my app content doesn't update or push notifications don't work?
Check that your WordPress plugin is connected and the API key is correct. For push notifications, ensure Firebase setup is complete and your device allows notifications. Web2Application offers support via WhatsApp and email.
Ready to turn your website into an app?
Create your Android and iOS app without coding. Start free, generate a test APK, and explore Premium features with a 14-day trial.