From Website to App: The Transparent, Step-by-Step Owner’s Workflow (With Real Testing, Troubleshooting, and What to Expect at Every Stage)
- nir
- July 14, 2026
- Marketing
- Marketing AI
- 0 Comments
What Does It Really Mean to ‘Make an App From a Website’?
For many website owners, the idea of turning a website into a mobile app seems both appealing and intimidating. You want your content, store, or services to be accessible on users’ phones, but the process can seem mysterious—especially if you don’t code. Fortunately, modern platforms like Web2Application make it possible to make an app from a website with no coding, real testing, and a transparent workflow. But what does the journey actually look like for an owner?
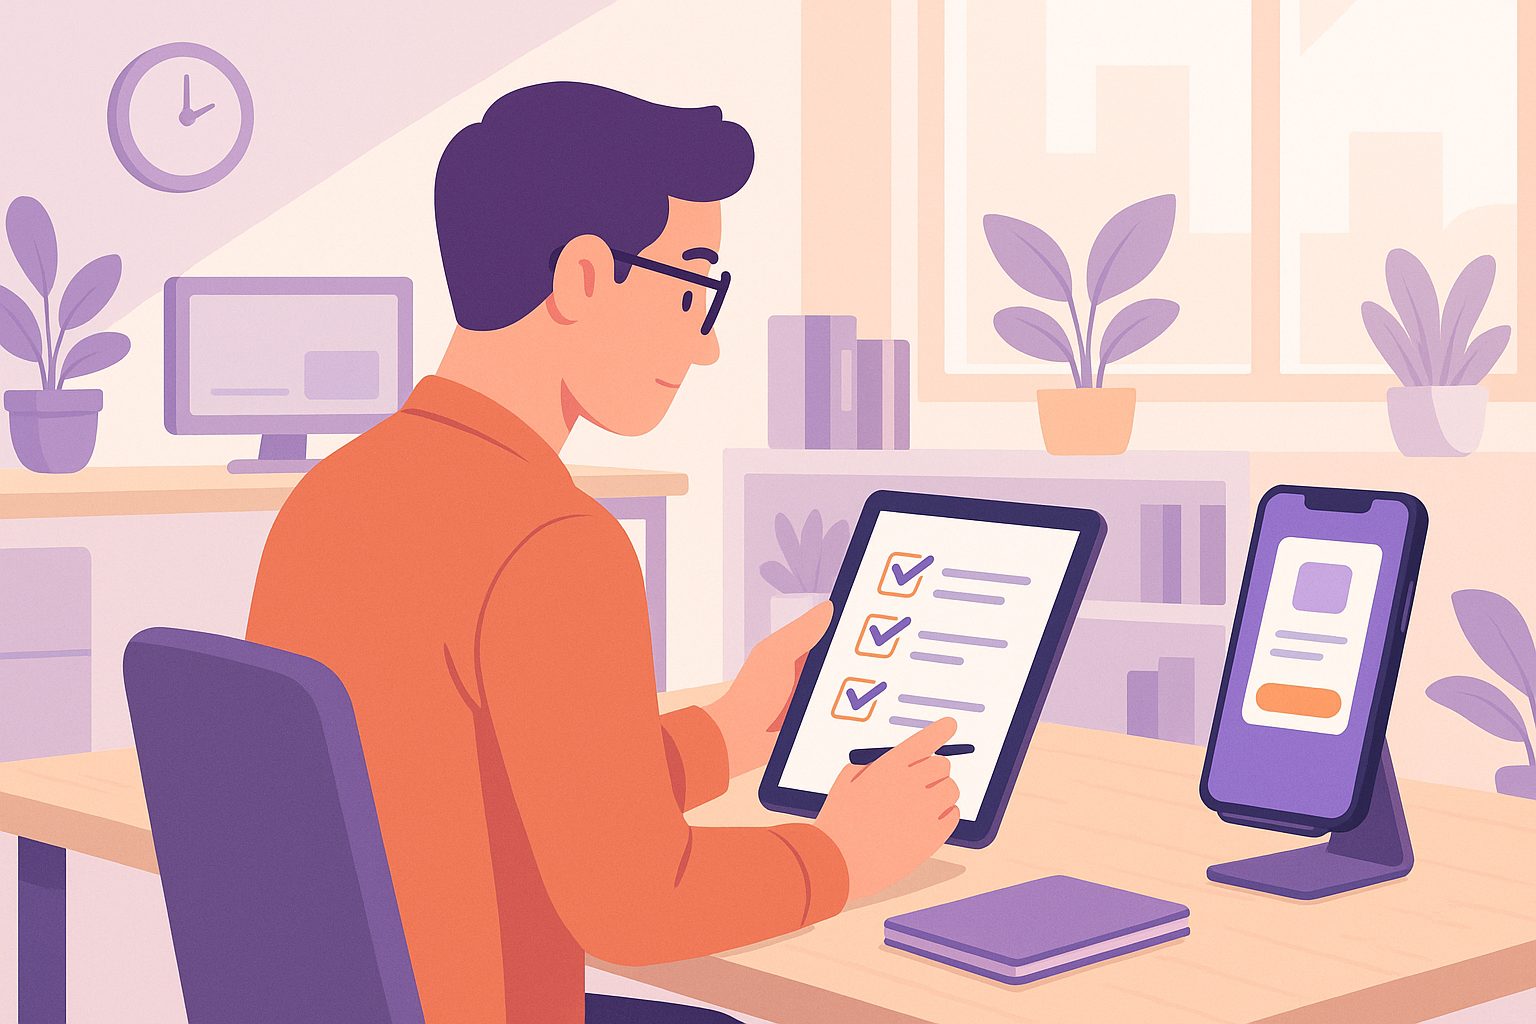
The Essential Pre-Conversion Checklist: What You Need Before You Start
- A responsive, mobile-friendly website: Your site should look good and function well on mobile browsers.
- Clear content and navigation: Simplified menus and organized pages help your app feel native.
- App assets: Prepare your app icon (1024x1024px), splash screen image, and branding colors.
- Developer accounts (optional, for publishing): Google Play and Apple Developer accounts are needed if you want to publish your app to stores.
Step 1: Preparing Your Website for App Conversion (Design, Content, Compliance)
Before you begin, review your website for mobile readiness. Check that:
- All pages are responsive and load quickly on mobile devices.
- Navigation is simple—avoid complex menus or pop-ups that don’t translate well to mobile.
- Content is clear, concise, and easy to read on a small screen.
- Your site meets Google and Apple store guidelines (no copyrighted content, privacy policy present, etc.).
Tip: If you use WordPress, ensure your plugins and themes are up-to-date and compatible with mobile devices.
Step 2: Setting Up Your App Project—Dashboard, Icons, and Configuration
Once your website is ready, sign up at Web2Application and create a new app project. Here’s what you’ll do in the dashboard:
- Enter your website URL: This is the content source for your app.
- Upload your app icon and splash screen: These will brand your app on users’ devices.
- Configure colors and layout: Match your app’s look to your website or brand.
- Set up navigation: Use the bottom tab bar menu for easy access to key sections.
- Review and save your settings: Preview changes in the dashboard before moving forward.
Step 3: Connecting Features—Push Notifications, WordPress, and More
Enhance your app with native features:
- Push Notifications: Enable in the dashboard and follow the Firebase setup wizard to connect your Google account. This lets you send messages directly to users’ devices.
- WordPress Integration: If your website runs on WordPress, install the Web2Application plugin and connect your API key for deeper content sync and WooCommerce features.
- Advanced Options: Add programmable personal push notifications or tweak your app’s appearance with custom CSS (for advanced users).
Tip: If you get stuck, Web2Application’s support and free course walk you through each step.
Step 4: Generating and Testing Your APK (With Troubleshooting Tips)
Ready to see your app in action? Here’s how to generate and test your Android APK:
- In your Web2Application dashboard, go to the APK Request page.
- Complete any required setup (Firebase for push, plugin for WordPress sites).
- Request your APK and wait for the build to complete.
- Download the APK and install it on your Android device (enable “Install from unknown sources”).
- Test your app thoroughly: check navigation, loading speed, push notifications, and content updates.
Troubleshooting Common Issues:
- App not updating content? Ensure your WordPress plugin is connected and API key is correct. Try clearing app cache or reinstalling the APK.
- Push notifications not working? Double-check Firebase setup and device notification permissions.
- APK won’t download? Make sure all required steps are complete and check the dashboard for status updates.
Step 5: Upgrading, Submitting to Stores, and Navigating Common Roadblocks
Once you’re happy with your test app, you can explore Premium features with a 14-day trial. Premium unlocks push notifications, expert support, and store submission assistance.
- Android Submission: Request submission from your dashboard. The Web2Application team guides you through Google Play Console requirements.
- iOS Submission: Requires an Apple Developer account. Web2Application helps you prepare, test with TestFlight, and submit for Apple review.
- Common Roadblocks: Apple’s Guideline 4.2 requires meaningful native functionality—Web2Application apps include navigation, push, and more to help you comply.
Tip: Store approval isn’t instant—expect a review period and possible feedback from Google or Apple.
What to Expect After Launch: Maintenance, Updates, and User Engagement
Launching your app is just the beginning. Here’s what to plan for:
- Content updates: Changes to your website sync to your app automatically (especially with WordPress integration).
- Push notifications: Engage users with announcements, offers, or updates directly from your dashboard.
- App updates: For major changes, generate a new build and submit updates to the stores.
- Support: Web2Application offers ongoing help, with priority WhatsApp support for Premium users.
Ready to Make an App From Your Website? Try Web2Application Free
Transforming your website into a real mobile app doesn’t have to be a black box. With Web2Application, you get a transparent, owner-focused workflow, real testing with a downloadable APK, and a 14-day trial to explore Premium features. Create Your App Free—see your website as a mobile app today!
Related articles
- How to Turn Your Website Into a Mobile App—No Coding, No Hassle: The 2024 Automation Guide
- Future-Proofing Your Website-to-App Conversion: How to Make an App From Your Website That Grows With You
Frequently Asked Questions
Do I need to know how to code to make an app from my website?
No coding is required. Platforms like Web2Application provide a no-code dashboard where you configure, brand, and test your app with simple, guided steps.
Can I test my app before publishing it to app stores?
Yes. With Web2Application, you can generate a real APK file to install and test your app on any Android device before submitting it to Google Play or the Apple App Store.
What if my website is built with WordPress?
Web2Application offers a dedicated WordPress plugin for seamless integration, content sync, and special features for WooCommerce stores.
How do I send push notifications from my app?
Enable push notifications in your Web2Application dashboard and follow the Firebase setup wizard. Once connected, you can send notifications directly to your app users.
What happens if I run into issues during the process?
Web2Application provides detailed troubleshooting guides, a free course, and responsive support—including priority WhatsApp support for Premium users.
Ready to turn your website into an app?
Create your Android and iOS app without coding. Start free, generate a test APK, and explore Premium features with a 14-day trial.