How to Get the Most From Your Web2Application Free Trial: A Real Owner’s Day-by-Day Guide
- nir
- August 8, 2026
- Marketing
- Marketing AI
- 0 Comments
What You Can Really Do With the Web2Application Free Trial
If you’re a website owner considering a mobile app, the Web2Application free trial is your opportunity to build, test, and preview your app with zero commitment. Unlike many platforms, Web2Application lets you generate a real APK for Android testing and explore premium features for 14 days. This guide walks you through each step—so you can make the most of your trial and see real results before deciding to upgrade.
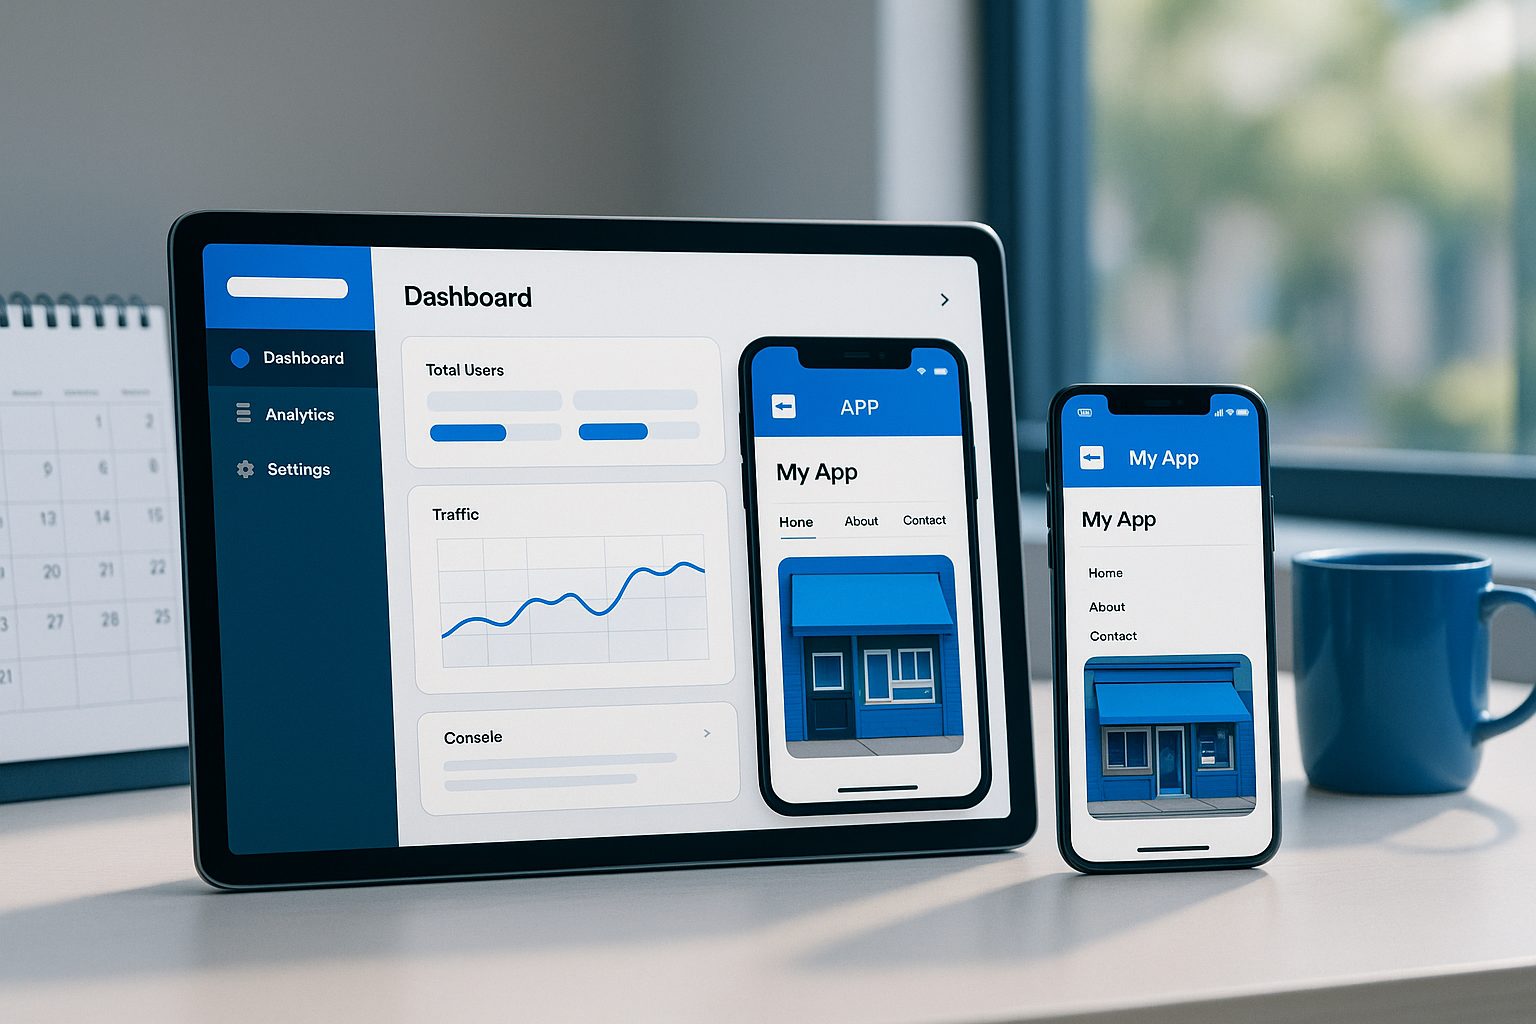
Step 1: Signing Up and Setting Up Your First App (Day 1)
Start your journey at Web2Application.com. Sign up for a free account and access your app dashboard. Here’s what to do on Day 1:
- Create a New App: Enter your website URL and basic details.
- Set Your App Icon and Splash Screen: Upload your branding for a professional look.
- Configure Essential Settings: Choose your app name, colors, and navigation style.
Tip: Review Google Play and Apple guidelines early—Web2Application’s setup flow helps you align with store requirements from the start.
Step 2: Designing Your App and Customizing Key Features (Day 2–3)
With your foundation set, it’s time to make your app stand out:
- Customize the Bottom Tab Bar: Add key pages or sections for easy navigation.
- Adjust Layout and Colors: Match your website’s branding for a seamless experience.
- Preview in the Dashboard: Use the built-in preview to see changes instantly.
Advanced users can tweak the app’s appearance further with custom CSS for a truly unique look.
Step 3: Generating and Testing Your Real APK (Day 3–4)
One of the biggest advantages of the Web2Application free trial is the ability to generate a real APK for Android:
- Complete your app setup and (if needed) connect Firebase for push notifications.
- Go to the APK Request section in your dashboard and request your test APK.
- Once ready, download the APK and install it on your Android device (enable “Install from unknown sources”).
- Test your app in real-world conditions—check navigation, loading speed, and design.
This hands-on testing is invaluable for spotting improvements and sharing your app with colleagues or beta testers.
Step 4: Exploring Premium Features During Your Trial (Day 5–7)
During your 14-day trial, you can access many premium features, including:
- Push Notifications: Set up Google Firebase and send real push notifications to your device.
- Store Submission Support: Preview the submission process for Google Play and Apple App Store (actual submission is available to premium users).
- WhatsApp Premium Support: Test priority support channels for faster help.
- Multiple User Access: Invite team members to collaborate on your app project.
Take this time to experiment with all available features and determine what will benefit your business most.
Step 5: Connecting WordPress or WooCommerce (If Applicable)
If your website runs on WordPress, you can:
- Install the official Web2Application plugin from your dashboard.
- Enter your API key to sync content and unlock app features.
- For WooCommerce stores, enable product search and e-commerce features in your app.
This integration is quick and lets you preview how your content and products appear natively in your app.
Step 6: Sending Your First Push Notification (Premium Trial)
Push notifications are a powerful way to engage users. During your trial, you can:
- Set up Firebase in the Push Settings area.
- Send test notifications to your device from the dashboard.
- Try advanced options like programmable personal notifications (for developers).
See firsthand how push can drive engagement and keep your audience coming back.
What Happens When the Trial Ends—and How to Decide What’s Next
At the end of your 14-day Web2Application free trial:
- Your app remains in your dashboard, but premium features (push, store submission, premium support) pause until you upgrade.
- All your work is saved—so you can pick up where you left off if you decide to subscribe.
- You’ll have a clear sense of your app’s potential, real APK test results, and which features matter most for your business.
Ready to take your website mobile? Create Your App Free with Web2Application. Build, test, and explore premium features risk-free—generate a test APK and see what your app can do before you commit.
Frequently Asked Questions
What features are available during the Web2Application free trial?
During your 14-day Web2Application free trial, you can build your app, customize design and navigation, generate a real APK for Android testing, and explore premium features like push notifications, store submission support, and priority WhatsApp support.
Can I publish my app to Google Play or the Apple App Store during the free trial?
You can preview the store submission process during the free trial, but actual submission to Google Play or the Apple App Store is available only to premium users after upgrading.
Is it possible to test push notifications in the free trial?
Yes! You can set up Firebase and send real push notifications to your device during the 14-day premium trial period.
What happens to my app after the free trial ends?
Your app remains in your dashboard, but premium features are paused until you upgrade. All your work is saved, so you can continue where you left off after subscribing.
Do I need a credit card to start the Web2Application free trial?
No credit card is required to start building and testing your app with Web2Application’s free trial.
Ready to turn your website into an app?
Create your Android and iOS app without coding. Start free, generate a test APK, and explore Premium features with a 14-day trial.