Beyond the Basics: How to Integrate Advanced Features Into Your Website-Based Mobile App (No Coding Needed)
- nir
- August 24, 2026
- Marketing
- Marketing AI
- 0 Comments
Why Advanced Features Matter for Your Website App
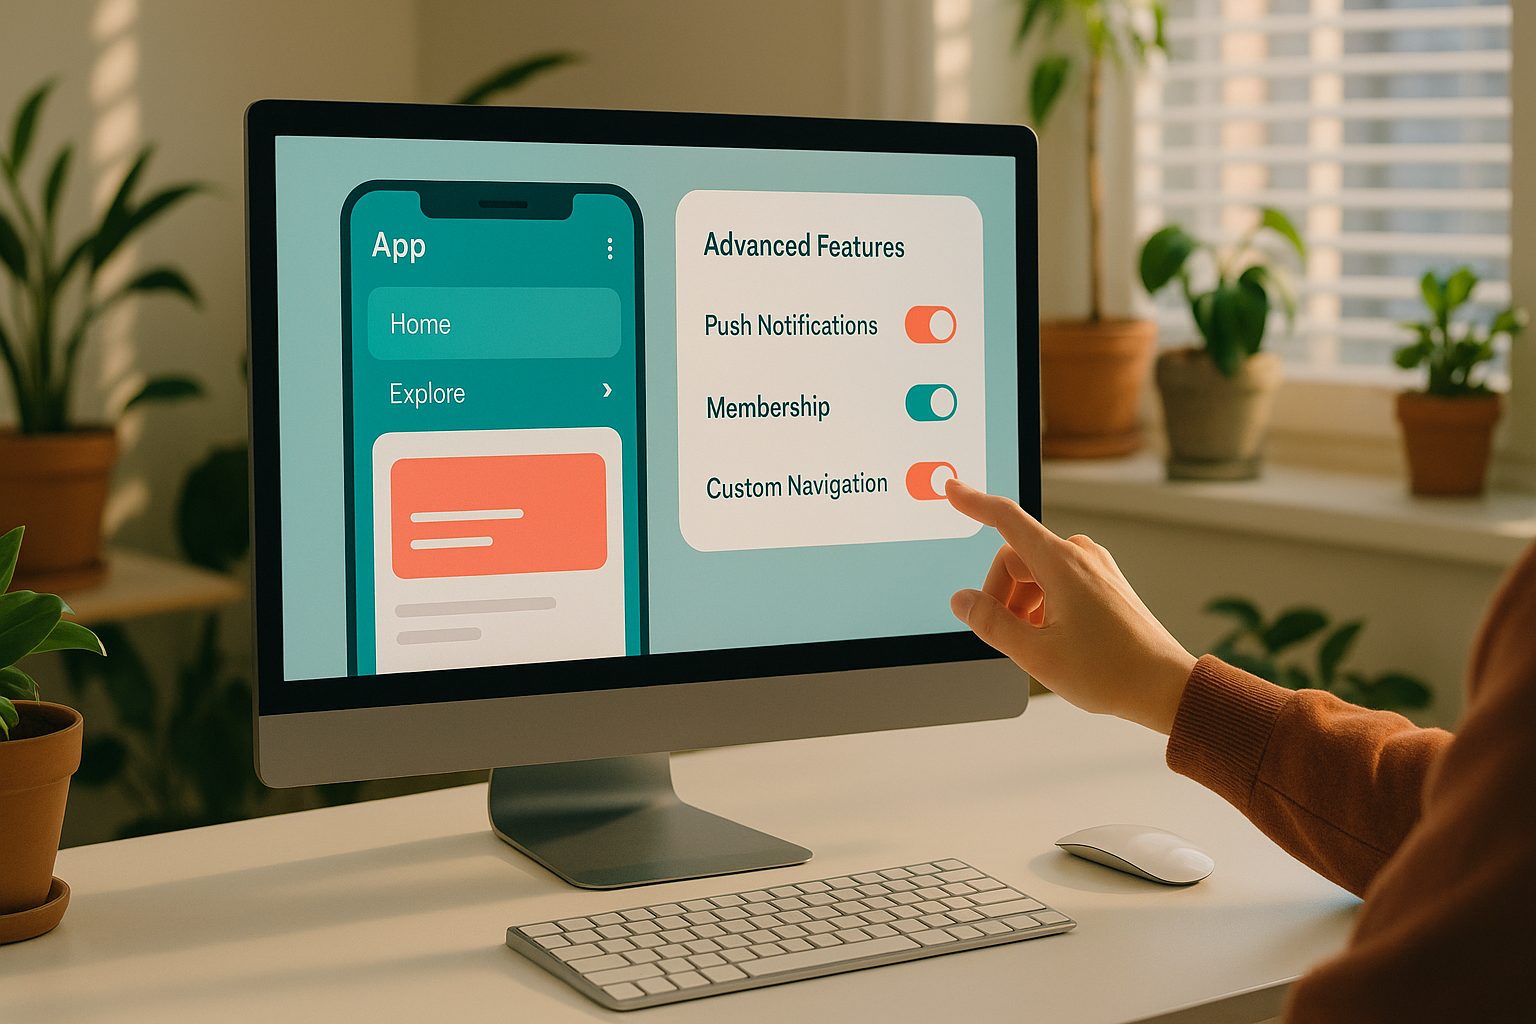
Turning your website into a mobile app is a smart move, but simply wrapping your site isn’t enough to stand out or engage users. Advanced features—like push notifications, custom navigation, and membership systems—can transform a basic app into a powerful tool that drives retention, boosts sales, and delivers a premium user experience. The good news? You don’t need to code to unlock these capabilities. With a platform like Web2Application, you can integrate advanced features directly from your dashboard, making your app as interactive and dynamic as you envision.
What Counts as ‘Advanced’ in No-Code App Building?
In the context of no-code website app builders, “advanced features” go beyond simple web views. They include:
- Programmable push notifications (targeted and automated messaging)
- Customizable menus and navigation (tab bars, deep links, and dynamic pages)
- Membership and loyalty systems (user accounts, exclusive content, offers)
- Integration with third-party tools (APIs, analytics, chat, and more)
- Enhanced design controls (custom splash screens, icons, and CSS tweaks)
These features help your app deliver a native-like, engaging experience—without the complexity of traditional app development.
Overview: The Advanced Features You Can Add With Web2Application
Web2Application offers a comprehensive dashboard where you can enable and configure advanced features, including:
- Push Notifications: Send manual or automated messages to users via Google Firebase integration.
- Custom Navigation: Design bottom tab bars, add custom menu items, and set up deep linking for seamless navigation.
- Membership & Loyalty: Activate the Members Club for user registration, exclusive offers, and automated engagement flows.
- Third-Party Integrations: Connect APIs, enable web push, and sync with WordPress (including WooCommerce and Elementor support).
- Design Customization: Tweak splash screens, icons, and even apply custom CSS for a unique look.
Step-by-Step: Enabling Programmable Push Notifications
- Access Push Settings: In your Web2Application dashboard, select your app and go to Push Settings.
- Connect Firebase: Follow the guided steps to connect your Google account and set up a Firebase project—no coding required.
- Configure Notifications: Once connected, you can send broadcast messages, schedule notifications, or set up automated triggers for personalized engagement.
- Send Your First Push: Use the dashboard’s push tool to compose and send your first notification. Advanced users can set up programmable, event-based notifications for even more impact.
Customizing App Menus, Tabs, and Navigation for Power Users
- Go to App Settings: In the dashboard, open App Settings and select Bottom Tab Bar Menu.
- Add or Edit Tabs: Easily add new navigation tabs, link them to specific pages, or set up deep links for direct access to key content or features.
- Personalize Icons & Labels: Choose icons and names for each tab to match your brand and app structure.
- Preview Instantly: Use the live preview to see changes in real time before publishing.
Integrating Membership, Offers, and Loyalty Systems
- Activate Members Club: From your app dashboard, select Members Club to enable membership features.
- Configure Membership Levels: Set up different user tiers, exclusive content, and automated offers for loyal customers.
- Automate Engagement: Use built-in automations to send offers, reminders, or reward notifications without manual effort.
- Manage Members: Track user activity, manage registrations, and analyze engagement—all from one place.
Connecting Third-Party Tools and APIs (No-Code Approaches)
- WordPress Integration: If your site is built on WordPress, install the Web2Application plugin and connect your API key for seamless syncing of content, products (WooCommerce), and app features.
- Web Push Notifications: Enable web push to reach users even when they’re browsing on mobile browsers or desktop.
- Other Tools: Use the dashboard’s API and integration options to connect analytics, chat, or CRM tools—no coding or developer needed.
Testing and Iterating: Ensuring Advanced Features Work Seamlessly
- Request APK: After configuring features, use the APK Request page to generate a test version of your app.
- Install & Test: Download the APK to your Android device and test all advanced features—push notifications, navigation, membership, and integrations.
- Iterate: Make any adjustments in the dashboard and re-test as needed. Web2Application’s live preview and easy update tools make this process fast and frustration-free.
Ready to Build a Powerful App? Start With Web2Application
Integrating advanced features in a website app builder has never been easier. With Web2Application, you can go far beyond basic conversion—unlocking push notifications, custom navigation, loyalty systems, and more, all without writing a single line of code. Sign up now and see how simple it is to build a feature-rich mobile app from your website today!
Frequently Asked Questions
What advanced features can I add to my website-based app with Web2Application?
You can add programmable push notifications, custom navigation menus, membership and loyalty systems, third-party integrations (like analytics and chat), and advanced design customizations—all without coding.
Do I need to know how to code to add advanced features?
No coding is required. Web2Application provides a user-friendly dashboard where you can enable and configure advanced features with simple clicks and guided workflows.
How do I test advanced features before publishing my app?
After configuring features, request an APK from the dashboard to test your app on an Android device. You can iterate and update features easily before submitting to app stores.
Can I integrate my WordPress site and WooCommerce store?
Yes! Install the Web2Application WordPress plugin, connect your API key, and your site content, products, and features will sync seamlessly with your app.
What if I need help setting up advanced features?
Web2Application offers a comprehensive knowledge base and premium WhatsApp support for step-by-step assistance with advanced features and integrations.
Ready to turn your site into an app?
Create your app with Web2Application — convert your website to Android and iOS apps.