How to Turn Your Website Into a Real Android App: The Transparent, Step-by-Step Owner’s Guide (With Free APK Testing)
- nir
- August 4, 2026
- Marketing
- Marketing AI
- 0 Comments
Why Convert Your Website to an Android App? Real-World Benefits for Owners
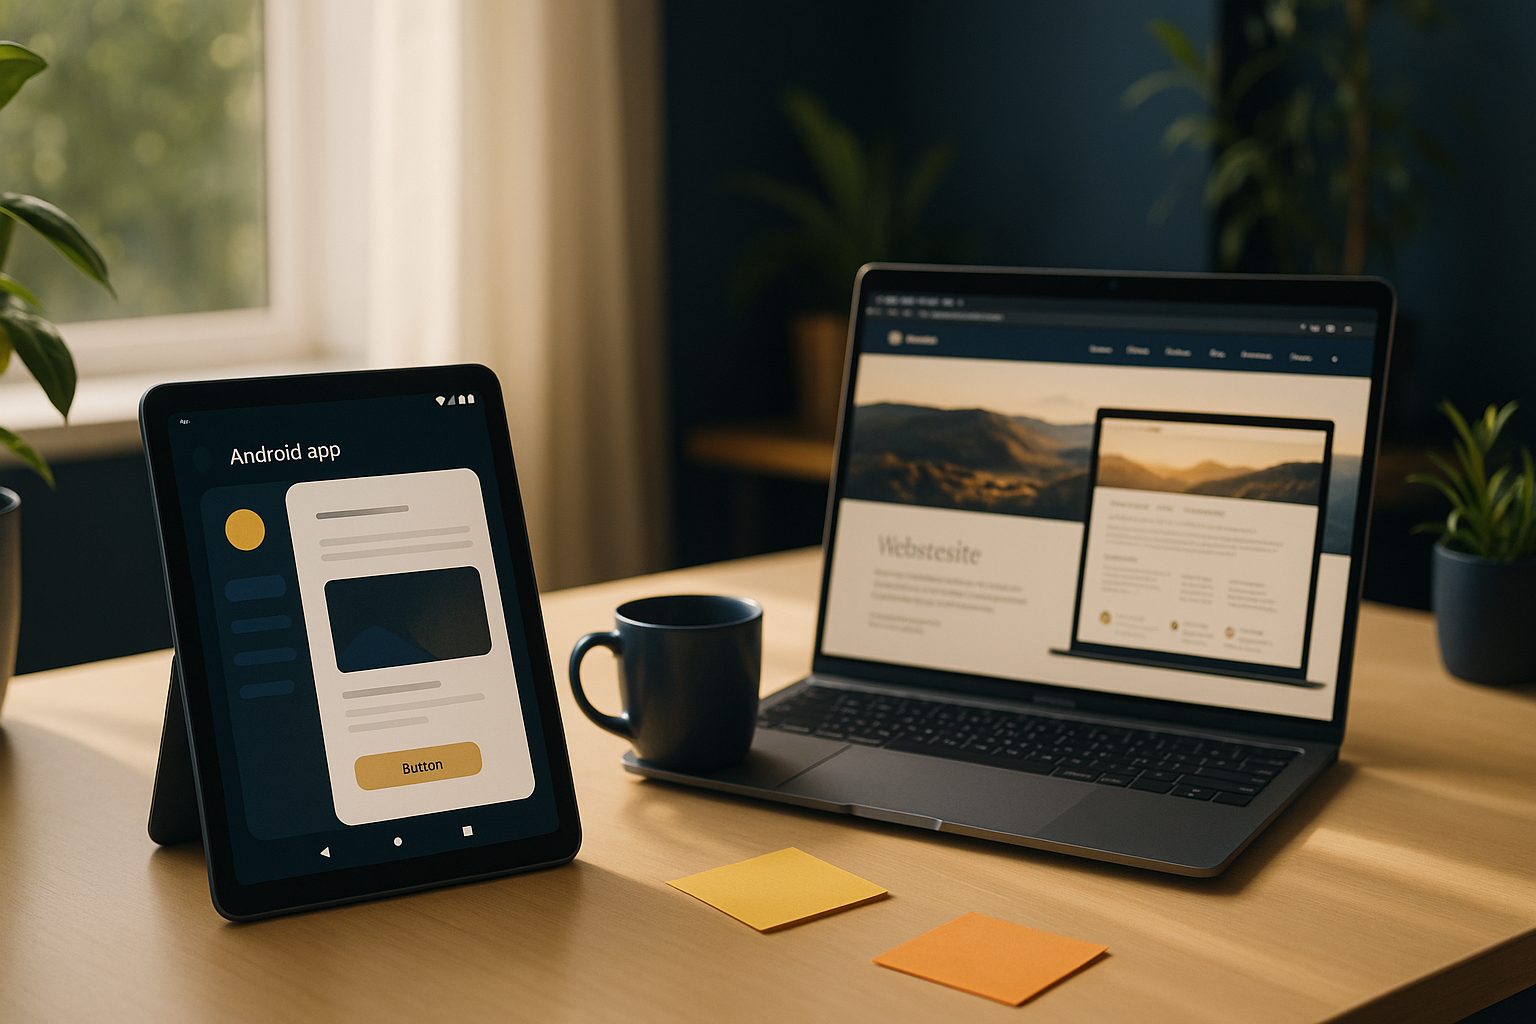
Today’s users expect seamless mobile experiences. Turning your website into an Android app isn’t just about following trends—it’s about unlocking new opportunities. Android apps put your brand on users’ home screens, enable push notifications, and provide a smoother, more engaging experience than mobile browsers. With over 2.5 billion active Android devices worldwide, an app can dramatically expand your reach and retention.
- Direct access: Your app icon on users’ devices means more repeat visits.
- Push notifications: Engage users instantly with updates, offers, and news.
- Brand credibility: Being in the Google Play Store boosts trust and professionalism.
- Better performance: Native apps load faster and offer smoother navigation than mobile sites.
What You Need Before You Start: Website Requirements and Android App Basics
Before converting your website to an Android app, make sure you’re set up for success. Here’s what you’ll need:
- A responsive website: Your site should look and work well on mobile devices.
- HTTPS enabled: Secure connections are required by Google Play and for in-app security.
- Content ownership: You must own or have rights to your site’s content.
- Basic assets: Prepare your logo (for the app icon), a splash screen image, and your brand colors.
- Optional (for WordPress): Access to your WordPress admin if you want advanced integration.
With these in place, you’re ready to start building your Android app.
Step 1: Preparing Your Website for Android App Conversion
Before you dive into app creation, take a few minutes to optimize your website for app use:
- Test mobile usability: Use your phone to browse your site and fix any issues.
- Streamline navigation: Simplify menus and remove pop-ups that may not work well in an app.
- Check loading speed: Fast sites make for better app experiences.
- Update content: Make sure your latest content, products, or services are live.
These tweaks will ensure your app feels polished right from the start.
Step 2: Creating Your Android App With Web2Application—Dashboard Walkthrough
Web2Application makes it easy for website owners to convert their site into a real Android app—no coding required. Here’s how:
- Sign up free at Web2Application.
- Create a new app in your dashboard. Enter your website URL and basic details.
- Upload your app icon and splash screen. These give your app its branded look.
- Configure app settings. Set your app name, color scheme, and navigation preferences.
- For WordPress users: Install the Web2Application plugin for deeper integration and features like product sync.
The dashboard guides you through each step, making the process straightforward and owner-friendly.
Step 3: Customizing Your App’s Design, Navigation, and Features
Now it’s time to make your app uniquely yours:
- Design tweaks: Adjust colors, icons, and splash screens to match your brand.
- Navigation: Set up a bottom tab bar for easy access to key sections.
- Pages: Choose which website pages to feature in your app, or create custom app pages.
- Advanced users: Apply custom CSS for fine-tuned design control.
Preview your changes live in the dashboard before moving forward.
Step 4: Enabling Push Notifications and Advanced Android Features
Push notifications are a powerful way to engage your app users. Web2Application lets you enable them with a few clicks:
- Go to Push Settings in your dashboard.
- Follow the Firebase setup wizard to connect your app to Google’s push notification service.
- Once set up, you can send notifications to all users or target specific groups.
Other advanced features include programmable personal notifications and, for WordPress/WooCommerce sites, product search and store integration via the plugin.
Step 5: Generating and Testing Your APK—How to Install and Preview Your App Free
Here’s where Web2Application stands out: you can generate a real APK file and test your app on any Android device before committing to publish. No guesswork—see exactly how your app works in the real world.
- From your dashboard, go to the APK Request page.
- Request your APK. Once ready, download it to your computer or Android device.
- Enable “Install from unknown sources” on your Android device (usually in Settings > Security).
- Install the APK and open your app—explore all features, navigation, and push notifications.
This free APK testing lets you experience your app exactly as your users will, so you can make improvements with confidence.
Next Steps: Upgrading, Store Submission, and Ongoing App Management
Once you’re happy with your app, Web2Application makes it easy to upgrade and unlock premium features like unlimited push notifications, priority support, and guided submission to the Google Play Store. You can manage updates, send notifications, and track your app’s performance—all from your dashboard.
Ready to see your website as a real Android app? Create Your App Free with Web2Application, generate your test APK, and explore all premium features with a 14-day trial. No commitment—just real results, fast.
Frequently Asked Questions
Can I turn any website into an Android app?
Most modern, responsive websites can be converted into Android apps using Web2Application. For best results, your site should be mobile-friendly, use HTTPS, and have content you own or control.
Is coding required to convert my website to an Android app?
No coding is needed. Web2Application provides a user-friendly dashboard where you can set up, customize, and test your app without technical skills.
How do I test my Android app before publishing?
With Web2Application, you can generate a real APK file and install it on your Android device for free. This lets you preview your app’s look and functionality before any commitment.
What if my website is built with WordPress or WooCommerce?
Web2Application offers a dedicated WordPress plugin for seamless integration, including WooCommerce product sync and advanced features for WordPress-based sites.
What happens after my free trial?
After your 14-day free trial, you can choose to upgrade to a premium plan to unlock advanced features, ongoing support, and store submission assistance. You can cancel anytime.
Ready to turn your website into an app?
Create your Android and iOS app without coding. Start free, generate a test APK, and explore Premium features with a 14-day trial.